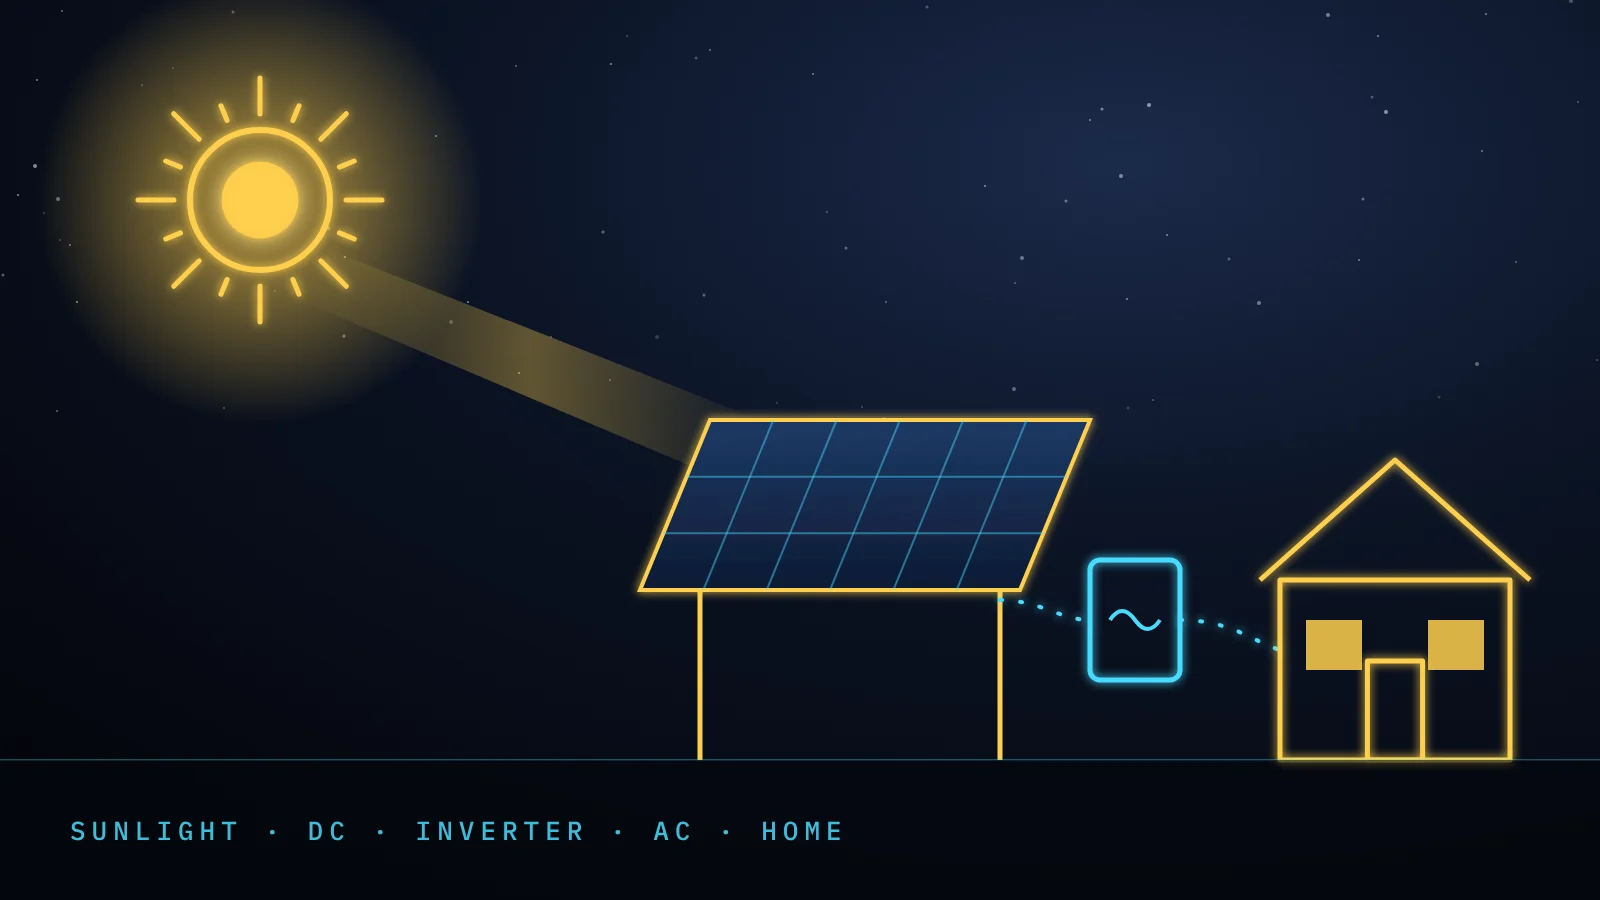
Solar power sounds complicated until you break it into three parts: panels that catch sunlight, an inverter that turns it into usable electricity, and — optionally — a battery that stores it for later. That's the whole system.
The panel: where it all starts
A solar panel is made of photovoltaic (PV) cells — usually silicon. When sunlight hits the cell, it knocks electrons loose and creates a flow of electricity. This is direct current (DC), which is not the same as what comes out of your wall socket.
Panels are rated in watts. A 400W panel in full sun produces about 400 watts at that moment. Over a full day in India, a single 400W panel typically generates 1.5 to 2 units (kWh) of electricity, depending on your location and season.
The inverter: making it usable
Your home runs on alternating current (AC) — 230V, 50Hz in India. The inverter converts the DC from your panels into AC that your appliances can use. It also handles grid connection, safety shutoffs, and — in better models — monitoring.
There are three main types: string inverters (one central unit for all panels), microinverters (one small unit per panel), and hybrid inverters (which also manage battery storage). For most Indian homes and farms, a string inverter or hybrid inverter is the right choice.
The battery: optional but useful
A battery stores excess solar energy so you can use it at night or during a power cut. In areas with reliable grid supply, many people skip the battery and use net metering instead — selling excess power back to the grid. In areas with frequent outages, a battery makes a big difference.
Lithium iron phosphate (LFP) batteries are now the standard for solar storage in India. They last longer than lead-acid, require no maintenance, and are safer. The upfront cost is higher, but the total cost over 10 years is usually lower.
What size system do you need?
A rough rule: 1 kW of solar panels generates about 4–5 units per day in most of India. If your household uses 10 units per day, a 2–3 kW system covers most of your needs. For a farm water pump, size the system to the pump's power rating and daily run hours.
Our Solar Starter Guide goes deeper on sizing — with worked examples for homes, farms, and small businesses. It's ₹99 and covers everything in this article plus subsidy eligibility, installer questions, and common mistakes to avoid.
PM Surya Ghar Muft Bijli Yojana is the central government's flagship rooftop solar scheme, launched in February 2024. The goal: 1 crore households with rooftop solar by 2027, with subsidies that cover 40–60% of the system cost for most families.
Who qualifies?
Any residential household with a valid electricity connection can apply. The scheme is for grid-connected rooftop solar only — off-grid systems are not covered. There is no income cap, but the subsidy amount is fixed regardless of system size above 3 kW.
How much subsidy do you get?
For a 1–2 kW system: ₹30,000 per kW. For a 2–3 kW system: ₹18,000 per kW for the portion above 2 kW. Above 3 kW: no additional central subsidy (though some states add their own top-up). A 3 kW system gets a maximum central subsidy of ₹78,000.
Step-by-step application
Step 1: Register on the PM Surya Ghar portal (pmsuryaghar.gov.in) with your electricity consumer number and Aadhaar. Step 2: Get a feasibility approval from your DISCOM (electricity distribution company). Step 3: Choose an empanelled installer from the portal's list. Step 4: Get the system installed. Step 5: Submit installation documents and bank details for subsidy disbursement.
The subsidy is credited directly to your bank account after the DISCOM inspects the installation and approves net metering. This typically takes 30–60 days after installation.
Common mistakes to avoid
Don't pay an installer the full amount before subsidy approval — a legitimate empanelled installer will not ask for this. Don't install before getting DISCOM feasibility approval, or you may not qualify for the subsidy. And don't use a non-empanelled installer, even if they offer a lower price.
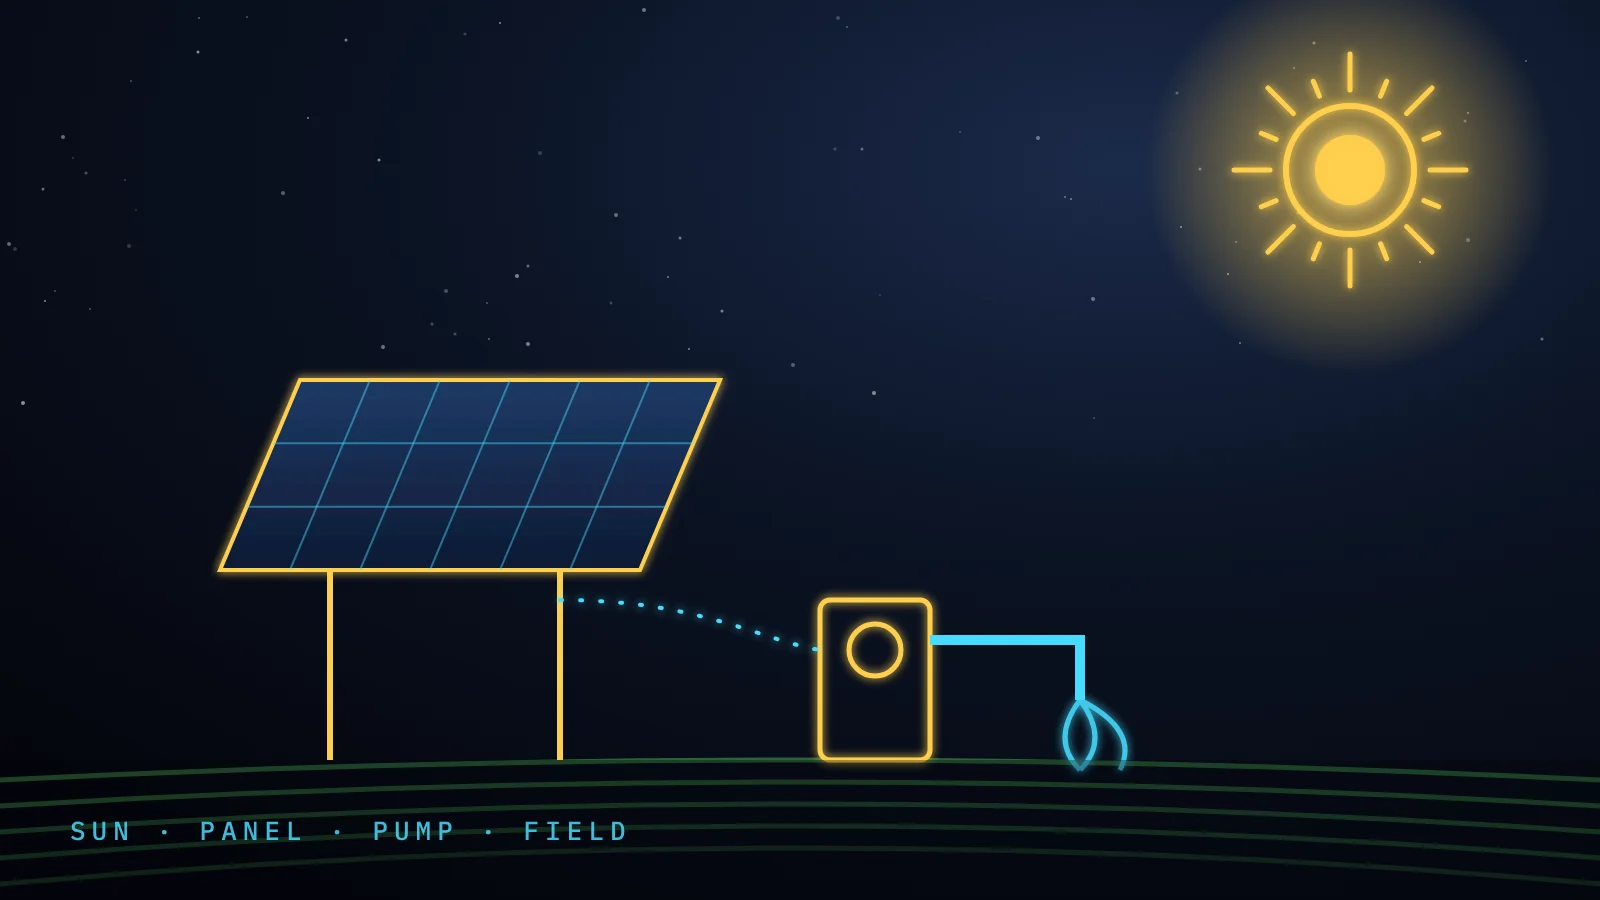
A solar water pump replaces a diesel or electric pump with one powered entirely by sunlight. For a farmer, this means no fuel costs, no electricity bills for irrigation, and no dependence on the grid — which is unreliable in most agricultural areas.
Surface pump vs. submersible pump
Surface pumps sit above ground and draw water from a source within about 7–8 metres. They're cheaper and easier to maintain. Submersible pumps go into the borewell and can lift water from much greater depths — 30, 50, even 100+ metres. Most Indian farmers with borewells need a submersible pump.
How to size your system
You need to know three things: the total head (vertical height the water must travel, plus pipe friction losses), the flow rate you need (litres per hour), and how many hours per day you want to pump. From these, you can calculate the pump's power requirement in watts, and then size the solar panels accordingly.
A rough guide: a 1 HP (750W) pump needs about 1.5–2 kW of solar panels to run reliably through the day. A 2 HP pump needs 3–4 kW. Always add 20–30% extra panel capacity to account for dust, shading, and seasonal variation.
PM-KUSUM scheme
PM-KUSUM (Pradhan Mantri Kisan Urja Suraksha evam Utthaan Mahabhiyan) provides subsidies for solar pumps of up to 70% of the cost for small and marginal farmers. The scheme has three components: standalone solar pumps (Component B), solarisation of existing grid-connected pumps (Component C), and small solar power plants on barren land (Component A).
Applications go through your state's agriculture or energy department. The process varies by state — some states have online portals, others require in-person applications through the local agriculture office.
Rooftop solar is one of the best investments an Indian homeowner can make right now. But a bad installation — or a bad decision before installation — can cost you years of savings. Here are the seven mistakes we see most often.
1. Choosing the cheapest installer
Solar installations last 25 years. The installer who quotes 20% less than everyone else is probably cutting corners on wiring, mounting, or panel quality. Get at least three quotes. Check if the installer is empanelled with your DISCOM (required for subsidy). Ask for references from installations at least two years old.
2. Skipping net metering
Net metering lets you sell excess solar power back to the grid and offset your electricity bill. Without it, any power your panels produce that you don't use immediately is wasted. Net metering is free to apply for and takes 30–60 days to set up. Don't skip it.
3. Undersizing the system
Many installers quote a system size based on your current bill, not your future needs. If you're planning to buy an EV, add an AC, or expand your home, size the system for where you'll be in 5 years, not where you are today. Panels are cheap. Adding capacity later is expensive.
4. Ignoring shading
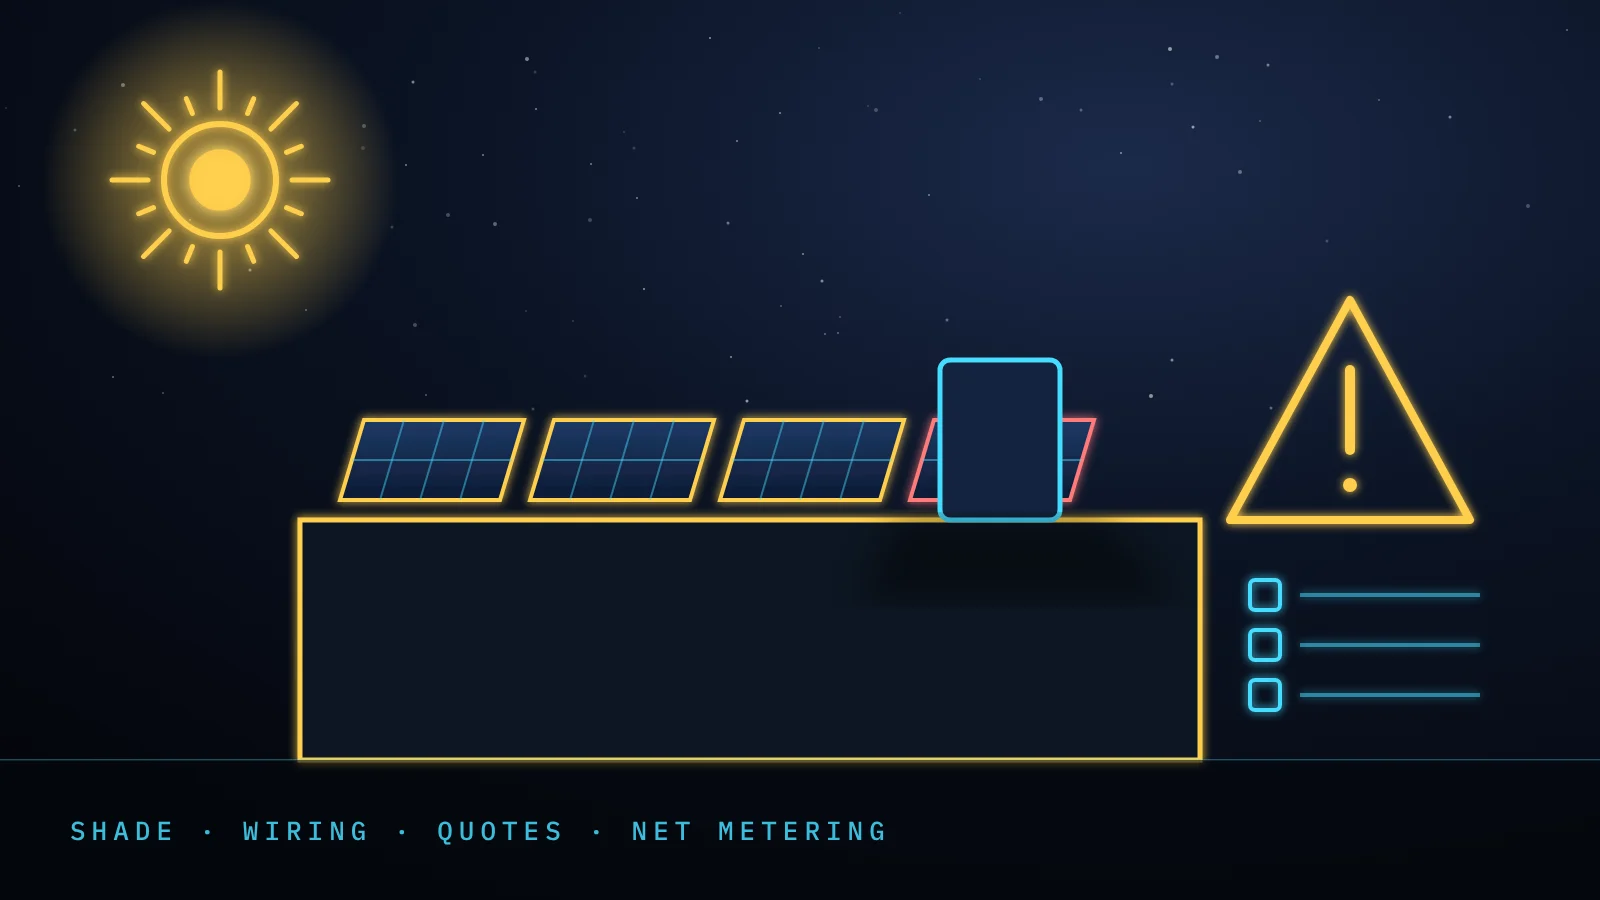
A single shaded panel can reduce the output of an entire string by 50% or more. Before installation, check for shading from water tanks, neighbouring buildings, and trees — at different times of day and in different seasons. If shading is unavoidable, ask about microinverters or power optimisers.
5. Not checking panel quality
Tier 1 panels from established manufacturers (Waaree, Adani Solar, Vikram Solar, Tata Power Solar, Longi, JA Solar) come with 25-year performance warranties and are manufactured to consistent standards. Avoid unknown brands with no track record, even if the price is attractive.
6. Forgetting about maintenance
Solar panels need cleaning every 2–4 weeks in dusty areas (more often near construction or agricultural land). A dirty panel can lose 20–30% of its output. Ask your installer about cleaning services or invest in a simple cleaning kit.
7. Not monitoring performance
Most modern inverters come with a monitoring app. Use it. A sudden drop in output usually means a panel is shaded, dirty, or faulty — and catching it early saves money. If your installer doesn't offer monitoring, ask why.
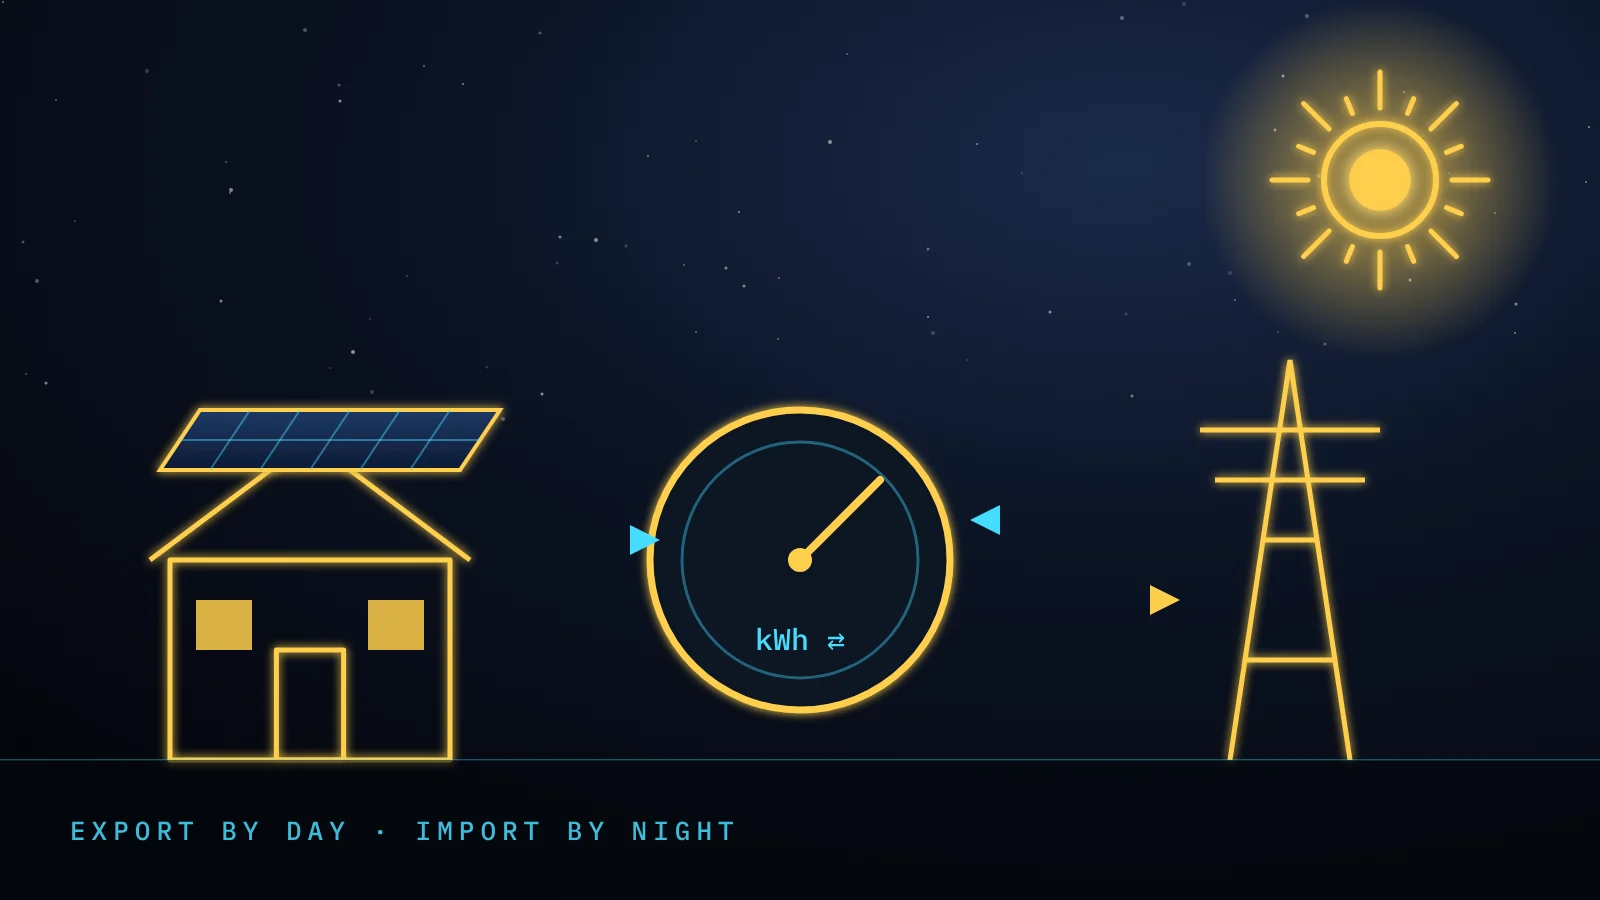
Your rooftop panels make the most power around midday, when many homes use the least. Net metering is the rule that lets that extra daytime power count in your favour instead of going to waste.
What net metering means
With net metering, your solar system is connected to the grid through a bidirectional (two-way) meter. When your panels make more than your home uses, the extra units flow out to the grid and the meter counts them as exported. At night, or on cloudy days, you draw units from the grid as usual and the meter counts those as imported.
At the end of the billing period you pay only for the net units: imported minus exported. If you exported more than you imported, most states carry the extra units forward as a credit to the next bill, usually until the end of the settlement year.
Net metering versus net billing
Some states and some customer categories use net billing (also called gross or feed-in arrangements) instead. Under net billing, the units you export are bought by the DISCOM at a fixed tariff, which is often lower than the tariff you pay for imported units, and credits may not carry forward. The difference matters: under net metering every exported unit is worth a full unit of your own tariff.
Rules change by state and are updated from time to time, so check the current regulation of your State Electricity Regulatory Commission or ask your DISCOM before you size your system.
How to apply
For homes, the application usually goes through the national PM Surya Ghar portal or your DISCOM's own portal. The DISCOM checks the technical feasibility of your connection, the installer completes the system, and the DISCOM inspects it and replaces your old meter with a bidirectional one. Only after the new meter is installed does the export start counting.
Ask your installer to include the net metering application, the inspection and the meter change in the quote. It is one of the most common things left out of cheap quotes.
What it means for sizing
Because daytime extra is credited, you do not need a battery to use all your solar power. You can size the system to your yearly units rather than your daytime use alone. A sensible target for most homes is to cover 80 to 100% of the yearly units on your bill, without going far beyond it, since large surplus credits may be settled at a lower rate or lapse at the end of the year.
Surya Design Studio shows your expected units month by month next to your use, so you can see where you will export and import, and pick a size that fits your state's rules. Our free guide How to Read Your Electricity Bill shows where to find your yearly units, and the paid guide Net Metering Explained covers state-by-state differences and the paperwork in detail.
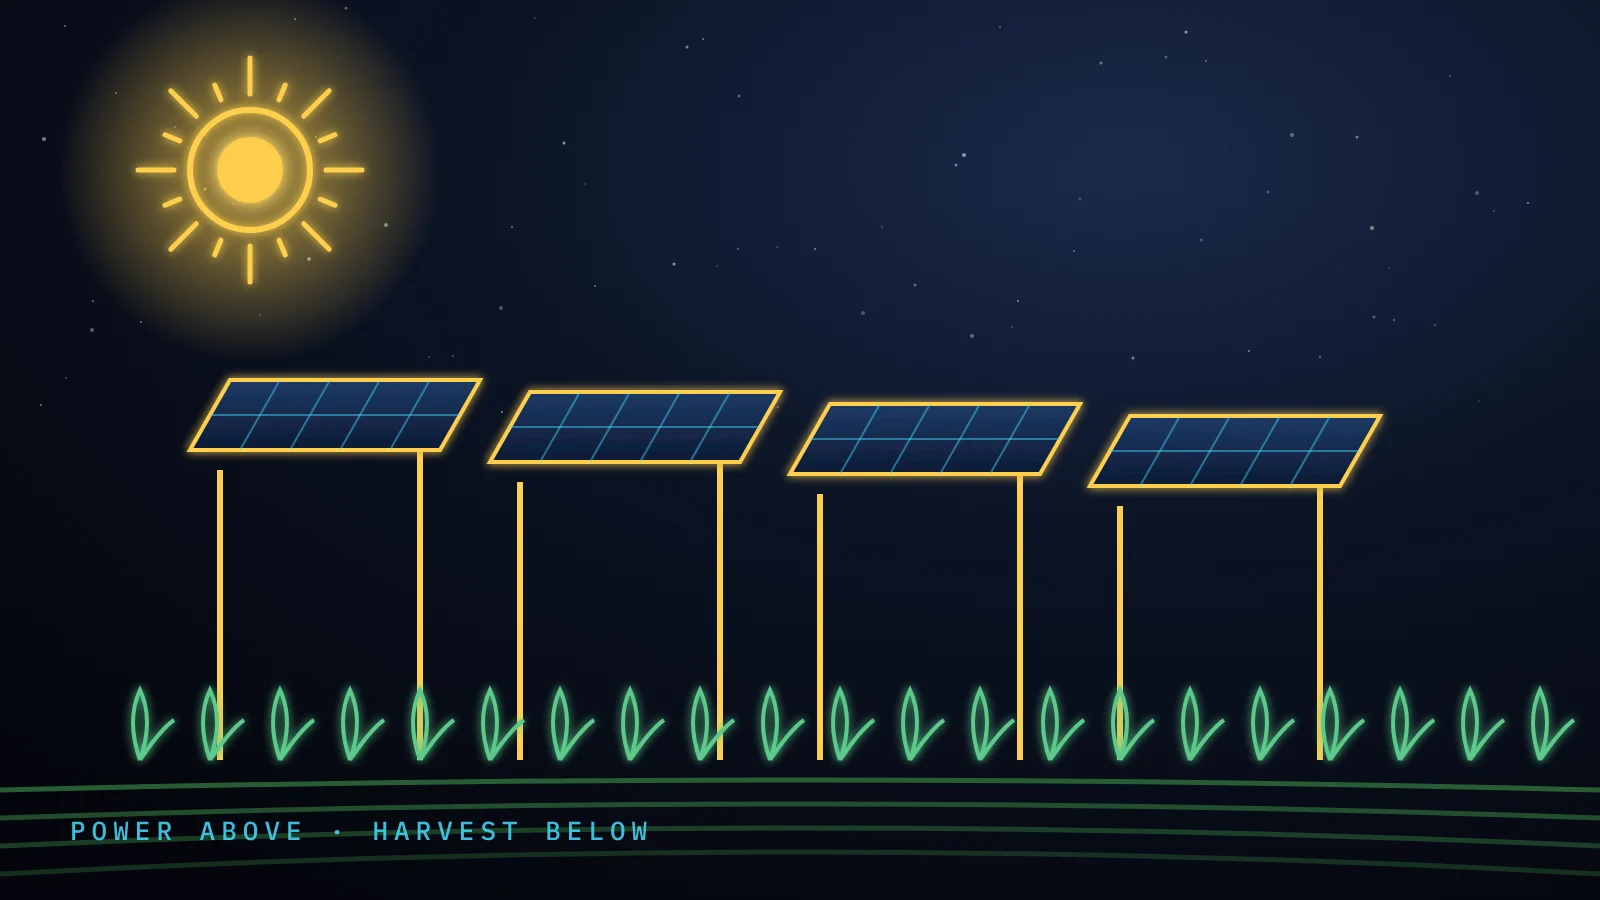
Land is precious on a farm. A normal ground-mounted solar plant covers the field and stops farming underneath. Agrivoltaics does the opposite: it raises the panels high enough, and spaces the rows wide enough, that crops keep growing below. One field gives two harvests: food and electricity.
How an agrivoltaic farm is laid out
The panels sit on tall frames, typically about 3 to 4 metres above the ground, so people can work and machines can pass underneath. The rows are spaced wider than in a normal solar plant, with lanes wide enough for a tractor or a harvester, and with enough gaps for sunlight to reach the crops through the day as the shadows move.
In India, the PM-KUSUM scheme already allows solar plants on agricultural land when the panels are raised and spaced so that farming is not affected. The electricity can run the farm's own pumps or be sold to the grid, depending on the scheme and the state.
Which crops suit partial shade
Crops that do not need full sun all day are the best starting point. Farmers and researchers commonly try turmeric, ginger, leafy greens, chilli, tomatoes, onions, potatoes, berries and fodder grasses. The moving shade can also keep the soil cooler and reduce evaporation in hot months, which can help in dry regions.
Results depend on your climate, your soil, the panel height and the row spacing. Start with a small trial plot under a few rows before converting a whole field, and compare the yield with an open plot next to it.
What to check before you build
Structure: tall frames carry more wind load than low ones, so the structure must be designed for your local wind speed and built from properly galvanised steel. Ask for the structural calculation.
Machinery: measure your tractor and any harvester. The clear height and the lane width must fit them with room to spare.
Water and access: plan irrigation lines, drainage and walkways before the posts go in. Moving them later is expensive.
Cost: raised structures cost more than a normal ground plant. The extra is paid back by keeping the crop income, so include both incomes when you compare options.
Design it before you spend
Surya Design Studio has an Agrivoltaic farm mode. Choose the clear height above the crops (2.5, 3.5 or 4.5 m), the lane between rows (4 to 10 m) and the crop, and the Studio lays out the panels, checks the shade and shows how much of the field the panels cover and how much open sky the crops still get. It is free to try.
Our guide Agrivoltaics: Crops Under Solar goes deeper into crop choice, layouts and what to measure in a trial, and the Kisan Solar Guide covers pumps and PM-KUSUM for farmers.